
AI Garden Design From a Photo: Reimagine Your Yard Instantly
Snap a picture of your yard, and within 15 to 60 seconds an AI tool redraws it as a finished garden — new beds, a path, maybe a patio — while keeping your fences and property lines exactly where they are. That’s the core promise of AI garden design: a fast, realistic redesign built from your own photo, not a generic template. It’s less like magic and more like a very fast sketch artist who happens to know a lot about landscaping.
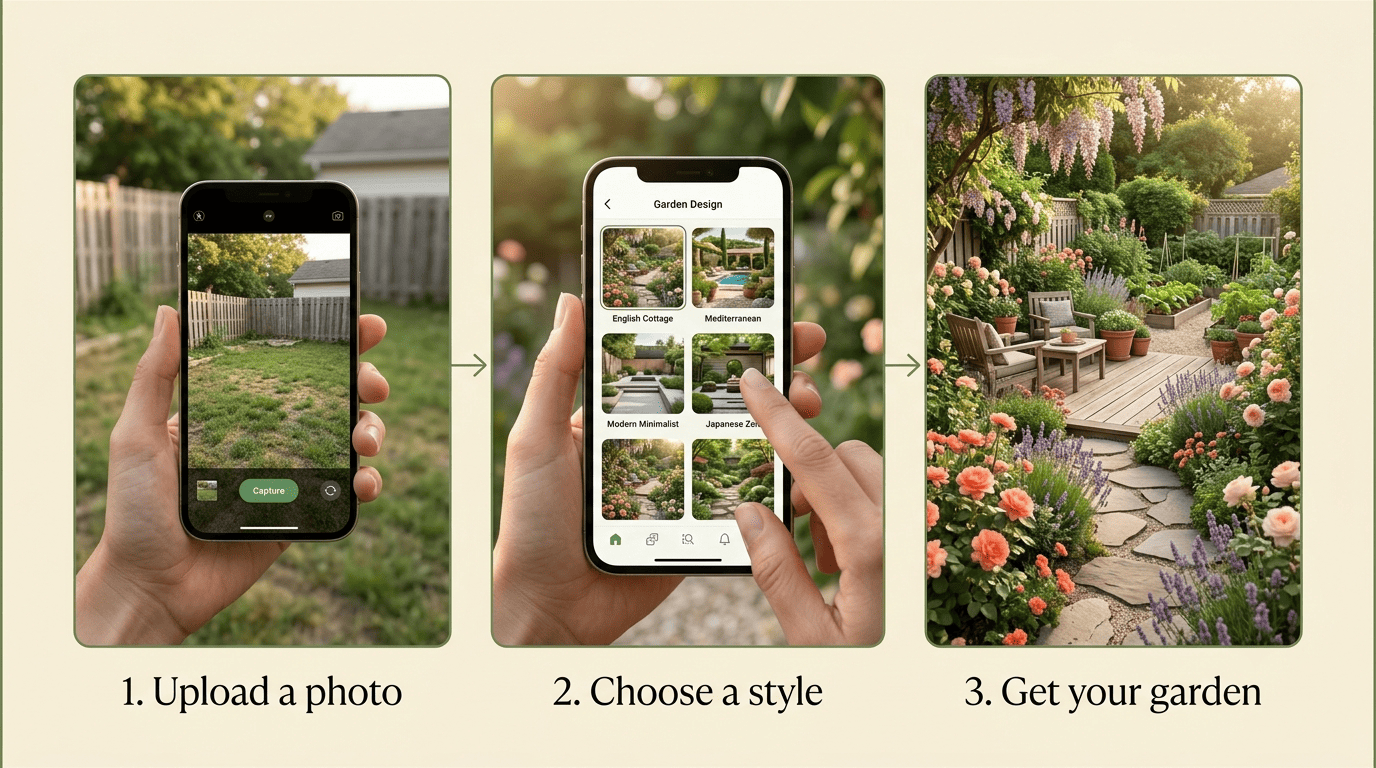
This guide walks through how that redraw actually happens, which garden styles are worth trying on your own yard, how to pick plants that survive where you live, and what to do once you have a render you love and want to turn into something real.
How AI garden design from a photo actually works
Every tool in this space follows roughly the same recipe, even though the interfaces look different. You give it a photo, you tell it what you want, and it hands back a picture. What happens between those two steps is where the interesting engineering lives — the AI has to understand not just what’s in the image, but where the sun falls and what’s structurally fixed versus what can change. That distinction is what separates a useful garden design from a photo tool from one that just slaps a generic garden template over your driveway.
The three-step workflow
The process is consistently simple across the major tools:
- Upload a photo of your yard — a JPG or PNG taken from your phone works fine.
- Choose a garden style or describe your vision — pick from a preset list or type what you want in plain English.
- Generate — the AI returns a realistic render, usually in 15 to 60 seconds, though speeds vary by tool (some land closer to 10 seconds, others closer to 30).
Most tools let you start for free, and a handful offer a few complimentary designs before asking for a subscription. That low barrier is a big part of why AI garden design has caught on with people who’d never have called a landscaper for a first pass.
What the AI «sees» in your photo
Behind the scenes, the model is reading your image for several things at once:
- Sun direction and shadow patterns across the yard
- Existing surfaces — concrete, gravel, decking, bare soil
- Plants already in place, so it knows what can stay versus what’s being replaced
- The rough proportion of open lawn to greenery, which shapes how dramatic the redesign can look
Tools that do this well anchor the redesign to what’s actually fixed — your fence line, your patio slab, the shape of your lot — rather than inventing a fantasy space that has nothing to do with your real yard. That grounding matters, because landscape design as a discipline has always been about working with a specific site, not designing in the abstract; as Wikipedia’s overview of landscape design puts it, the field is a design and art tradition that combines nature and culture, bridging landscape architecture and garden design. An AI render that ignores your real boundaries isn’t landscape design in that sense — it’s just a pretty picture.
How to take a photo that gives great results
The quality of the input photo has an outsized effect on the quality of the output render. A cropped, shadowy, or badly angled photo gives the AI less to work with, and the result usually looks it.
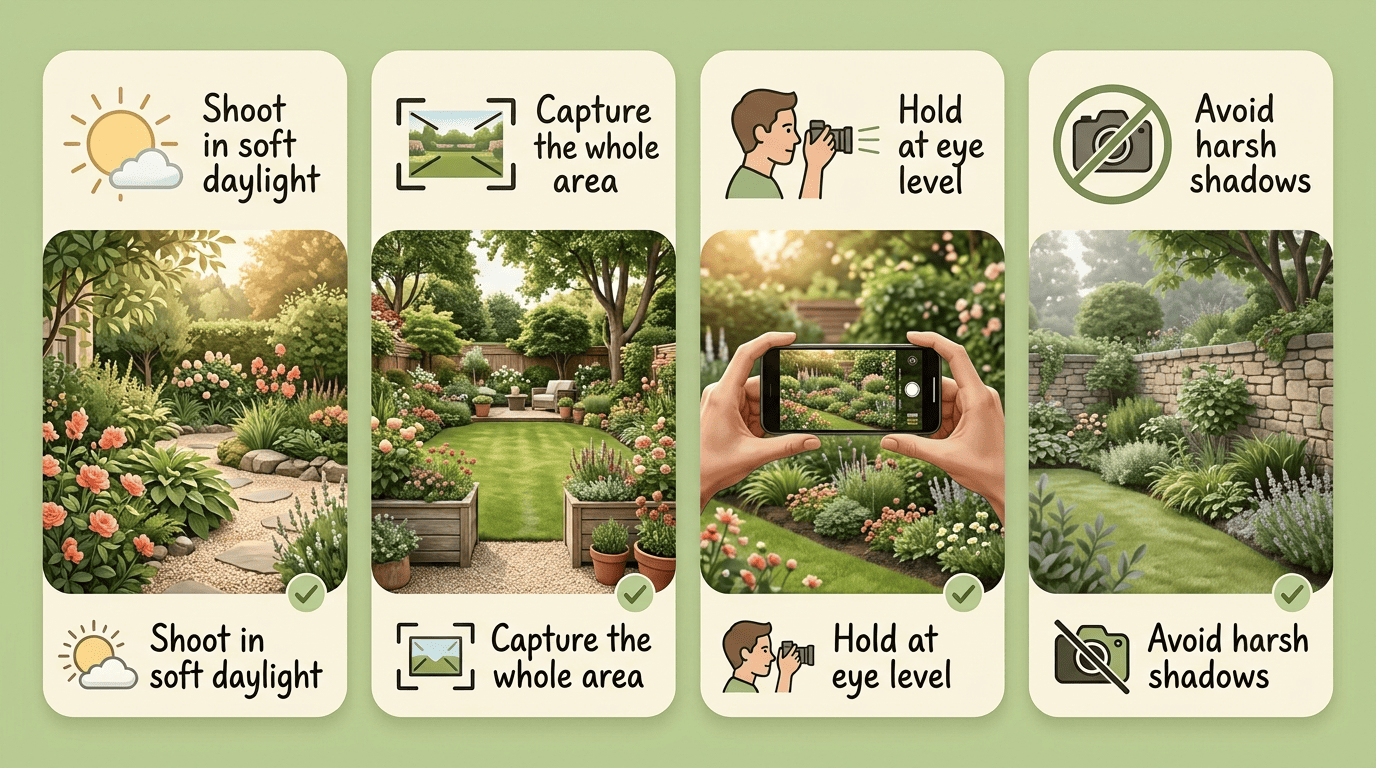
Shoot in soft, even daylight. Harsh midday sun creates deep shadows that can confuse the AI’s read on your existing layout, and it also just looks worse in the final render. An overcast day or the golden hour before sunset tends to produce cleaner input.
Capture the whole zone you want redesigned. If you’re redoing a backyard, get the fence, the bed, and the pathway all in one frame rather than a tight shot of just the lawn. The AI can only redesign what it can see.
Hold the camera around eye or chest level. A photo shot too low or too high distorts proportions, which throws off how realistic the finished plant scale and pathway width look.
Refining the result
Getting a render you’re happy with is often iterative rather than one-shot. Many tools support a follow-up chat step after the first generation, where you can ask for specific tweaks, such as:
- «Add a gravel path along the side fence»
- «More flowering borders near the patio»
- «Make it drought-tolerant»
- «Swap in native plants instead»
That back-and-forth is closer to briefing a designer than filling out a form, and it’s usually the fastest way to land on something that actually fits your taste rather than settling for the first pass.
Garden styles you can try on your yard
The prettiest preset in the world only works if it’s compatible with your actual climate — keep that in mind while browsing styles, and it’ll come up again once you get to plant selection.
Popular preset styles
Style libraries range from a handful of options to well over a hundred, but a few names show up again and again:
- English cottage — informal, overflowing borders with a mix of flowering perennials
- Japanese Zen — stone, moss, raked gravel, and a deliberately calm, uncluttered layout
- Mediterranean — gravel groundcover, lavender, and terracotta accents
- Modern minimalist — clean lines, restrained planting, hardscape-forward
- Desert/xeriscape — built around drought-tolerant plants, an approach formally known as xeriscaping that minimizes or eliminates the need for irrigation
- Tropical — dense, layered foliage and bold leaf shapes
- Prairie/native — grasses and native perennials arranged in loose, naturalistic drifts
An AI garden designer with a deep style library gives you room to compare wildly different directions on the exact same photo before committing to one.
Beyond plants: hardscape and layout
The redesign isn’t limited to what’s growing. Most tools will also rework pathways, patios, hedges, raised beds, seating areas, and even a fire pit if there’s room for one. If you want to see how far the hardscape side of things can go on a specific layout, it’s worth exploring a dedicated AI garden design generator that lets you push those structural elements as hard as the planting choices.
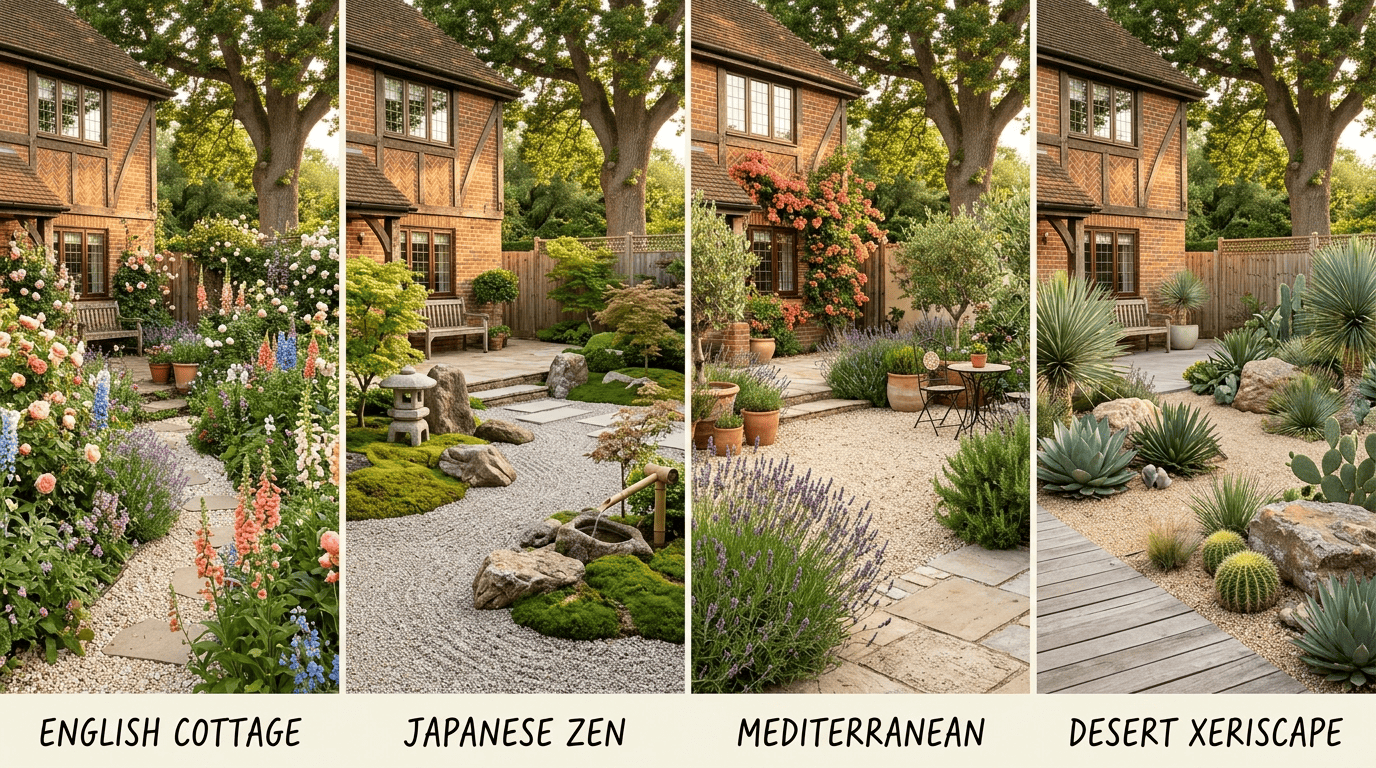
Here’s a quick comparison of how a few popular styles typically handle the non-plant elements of a yard:
| Style | Hardscape approach | Best suited for |
|---|---|---|
| English cottage | Winding gravel paths, low picket edging | Front yards, cozy backyards |
| Japanese Zen | Stone, raked gravel, minimal hardscape footprint | Small, quiet backyard corners |
| Mediterranean | Terracotta pavers, gravel courtyards | Sunny patios and entertaining spaces |
| Modern minimalist | Poured concrete, geometric planters | Contemporary homes, small lots |
| Desert/xeriscape | Decomposed granite, boulders, dry creek beds | Hot, low-water climates |
Picking plants that will actually thrive
A gorgeous render is only the first half of the job. The second half is making sure whatever the AI put in your beds can actually survive where you live — and that’s where climate data, not aesthetics, has to take over.
Match plants to your USDA hardiness zone
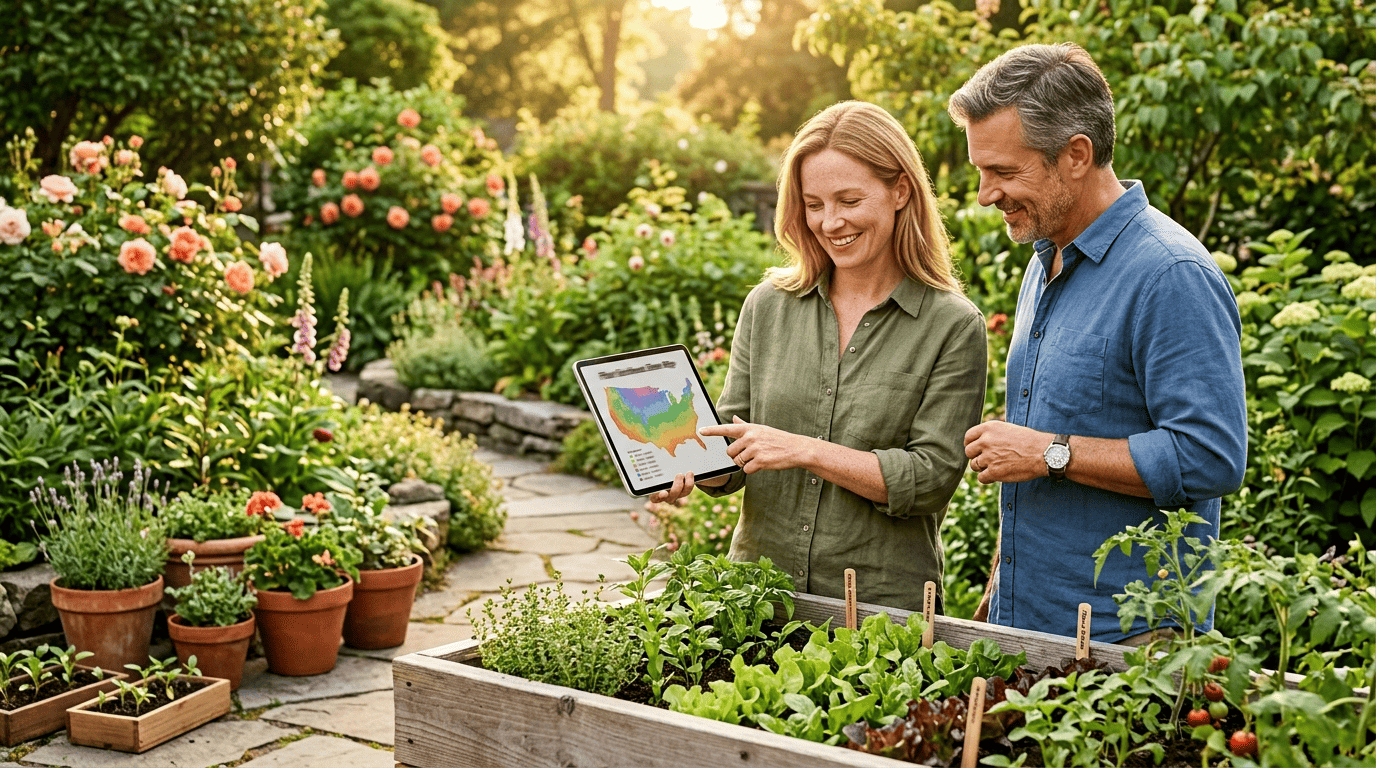
Start by finding your zone before you fall in love with a specific plant list. The USDA Plant Hardiness Zone Map divides the country into 10°F zones, further split into 5°F half-zones, based on the average annual minimum winter temperature at a given location. The current edition dates to 2023, and you can look up your exact zone at planthardiness.ars.usda.gov using nothing more than your ZIP code. Some AI tools already build this in, generating a location-based plant list rather than a generic one — a real time-saver if your climate is unusual.
The USDA Plant Hardiness Zone Map is the standard by which gardeners and growers can determine which perennial plants are most likely to thrive at a location.
USDA Plant Hardiness Zone Map
That’s the whole reason the zone map exists: it turns «will this survive here» from a guess into a lookup. Here’s the quick version if you just want the numbers.
| USDA hardiness zone basics | Detail |
|---|---|
| Full zone width | 10°F |
| Half-zone width | 5°F |
| Based on | Average annual extreme minimum winter temperature |
| Current edition | 2023 |
| Where to check | planthardiness.ars.usda.gov, by ZIP code |
Once you know your zone, cross-check it against the plant list your AI tool suggested rather than assuming every preset in a style category will hold up through your winter. A Mediterranean-inspired render with lavender and rosemary, for example, reads very differently in a warm coastal zone than it does somewhere with hard frosts.
Soft disclaimer + local check
Climate, soil, sun exposure, and drainage vary enormously even within the same zip code, so treat an AI render as inspiration and a starting plan rather than a guaranteed planting schedule. Before you buy anything, confirm specific cultivars, planting timing, and soil prep with a local garden center or your regional Cooperative Extension System office — extension agents know the quirks of your specific county in a way no photo-based tool can. No AI garden designer, however good the render looks, can guarantee a particular cultivar will thrive in your specific soil. Think of the render as the vision and the extension office visit as the reality check that keeps you from planting something that struggles the moment the season turns.
From a picture to a real garden
A render is a plan, not a finished yard — the gap between the two is where budget and sequencing come in.
Turn the render into a plan
Once you have a before-and-after you’re happy with, treat it as a working document rather than a keepsake:
- Save both the before and after images
- Pull a list of the plants and materials shown in the render
- Break the project into phases — hardscape first, then beds, then planting
- Check every plant against your USDA zone before buying
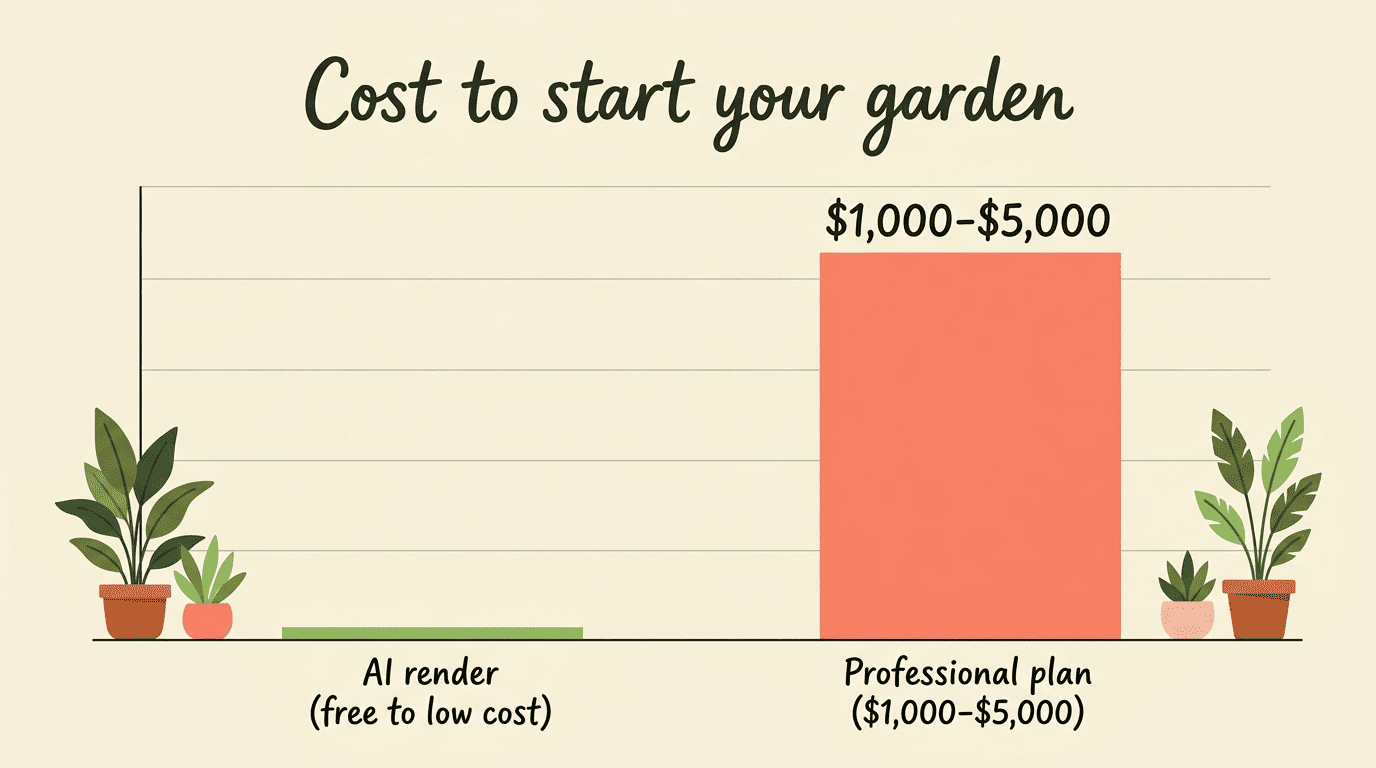
Rather than trying to do everything in one weekend, work through those phases in order. Water use is worth planning for early too; the EPA’s WaterSense landscaping guidance is a solid reference for keeping a new design efficient rather than thirsty. Some apps go a step further with an augmented-reality walkthrough that shows plants at true-to-life scale in your actual space, which helps catch scale mistakes before they’re planted in the ground. It’s also worth knowing the professional baseline: a landscape architect’s plan alone typically runs $1,000 to $5,000, before installation. An AI-generated starting render won’t replace that plan for a complex project, but it can sharpen what you ask a professional for.
Budget and curb appeal
More homeowners are tackling this than you might expect — a good share of people who complete an outdoor renovation are doing it for the first time, and a free or low-cost AI render is a natural place to start when you don’t yet know what you want. Front-yard projects tend to pay off fastest in curb appeal, while backyard makeovers are usually about livability. Whichever you start with, the fastest way to see your options is to run your own garden design from a photo and compare a few directions before committing to one. If you’re focused on the space where you’ll actually spend your evenings, it’s worth trying a dedicated AI backyard design pass to see what a realistic layout could look like before you spend a dollar.